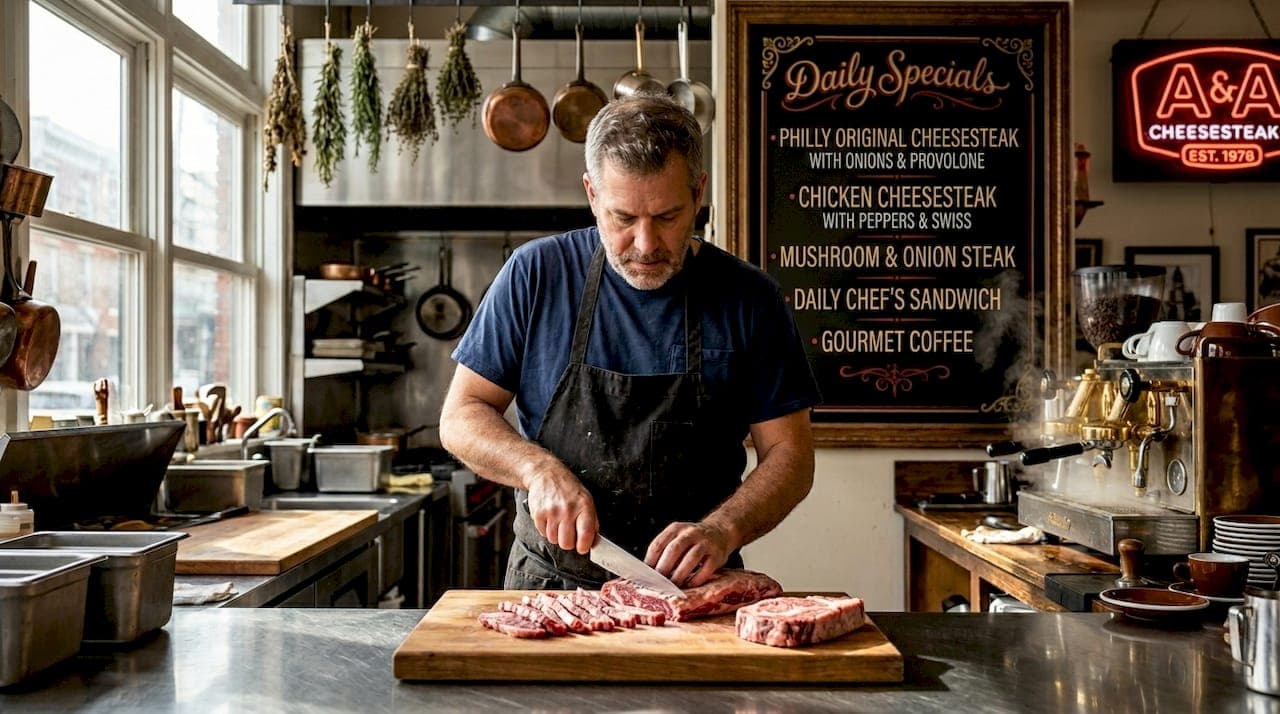
Getting the authentic Philly cheesesteak right at home is harder than it looks. Most attempts fail not because of bad ingredients, but because of process. The examples of authentic cheesesteak preparation methods covered here go beyond basic recipes. They address the specific decisions, like slicing technique, griddle heat, and cheese melt timing, that separate a genuinely great cheesesteak from a mediocre steak sandwich. Traditional cheesesteak methods are rooted in a precise sequence of steps, and understanding each one gives you real control over the final result.
Table of Contents
- Key takeaways
- 1. Examples of authentic cheesesteak preparation methods start with the freeze-slice technique
- 2. The classic Philadelphia griddle method
- 3. The cheese-under-the-steak method
- 4. Blackstone flat-top griddle preparation
- 5. Two-stage cheese melt technique
- 6. Side-by-side comparison of preparation methods
- My honest take on what actually matters
- Get the real ingredients for your next cheesesteak
- FAQ
Key takeaways
| Point | Details |
|---|---|
| Freeze ribeye before slicing | Par-freezing ribeye for 30 to 45 minutes makes paper-thin slicing achievable at home. |
| Griddle heat determines texture | High, direct heat creates a sear. Overcrowding kills it and turns your steak soggy. |
| Residual heat melts cheese best | Turning off the heat before adding cheese prevents dry, rubbery results. |
| Roll choice is non-negotiable | A soft Italian hoagie roll holds the sandwich together without competing with the filling. |
| Cheese placement is flexible | Whether cheese goes on top or under the steak, the goal is full melt integration. |
1. Examples of authentic cheesesteak preparation methods start with the freeze-slice technique
Before anything hits the griddle, you have to solve the slicing problem. Ribeye is a fatty, dense cut. At room temperature, it resists clean, thin cuts and tends to tear rather than slice. The fix is simple and used by home cooks and professional cheesesteak makers alike: freeze ribeye 30 to 45 minutes before slicing.
Wrap the ribeye tightly in plastic wrap and place it in the freezer until it firms up but is not frozen solid. You want the exterior to feel stiff while the center still has slight give. At that point, a sharp chef's knife or slicing knife will glide through the meat with control, letting you cut slices thin enough to almost see through.
Here is what this technique accomplishes:
- Even thickness: Consistent slices cook at the same rate, so you get uniform texture across the entire batch.
- Faster cooking: Thin slices spend less time on the heat, which protects the beef's natural tenderness.
- Authentic texture: Thin slicing avoids toughness that ruins the signature soft-but-substantial bite of a real cheesesteak.
- Grain alignment: Slicing against the grain while the meat is firm shortens the muscle fibers, making every bite easier to chew.
Pro Tip: Set a timer when you put the ribeye in the freezer. Less than 25 minutes and the meat is still too soft. More than an hour and you are fighting a frozen block. The 30 to 45 minute window is the sweet spot.
2. The classic Philadelphia griddle method
This is the foundation of Philadelphia cheesesteak preparation, and it is worth understanding in detail because the sequence matters as much as the ingredients. A genuine Philly cheesesteak uses shaved ribeye cooked on a hot flat-top, piled into a long Italian roll with melted cheese integrated directly into the meat.
Here is how the classic griddle method works step by step:
- Caramelize onions first. Add sliced sweet onion to a lightly oiled griddle over medium heat. Cook for 8 to 10 minutes, stirring occasionally, until they turn golden and soft. Do not rush this. Caramelized onions add a sweetness that balances the richness of the beef.
- Push onions aside and raise the heat. Move the onions to a cooler zone of the griddle and crank the heat to high. You want the cooking surface very hot before the beef goes on.
- Sear the beef in a single layer. Lay shaved ribeye flat on the hot surface. Let it sear for about one minute per side without moving it. This is where the flavor develops. Searing shaved beef at high heat creates the slightly crispy edges that define the classic cheesesteak bite.
- Chop while cooking. Use a metal spatula to chop the beef into smaller pieces as it cooks. This integrates the meat with the onions and creates the characteristic loose, shredded texture.
- Turn off the heat and add cheese. Once the beef is cooked through, turn off the burner and immediately lay provolone slices over the meat pile. Cover with a dome or lid for about one minute. Residual heat melts cheese without drying it out, producing a glossy, cohesive melt rather than a rubbery layer.
- Steam the roll. Place the hoagie roll cut-side down directly over the cheesy meat pile. The trapped heat finishes the melt and warms the bread simultaneously.
Pro Tip: Overcrowding the cooking surface causes the beef to steam instead of sear. If you are making more than two sandwiches, cook in batches. A crowded griddle drops the temperature fast and you lose the crust.
3. The cheese-under-the-steak method
Food purists who prefer traditional cheesesteak methods sometimes debate where the cheese belongs, and Patti LaBelle's approach flips the conventional assumption entirely. Instead of melting cheese on top of the cooked beef, this method puts cheese on the bun first, then piles the hot cooked steak directly on top.
The logic is straightforward. Hot, freshly cooked ribeye carries enough residual heat to melt provolone or American cheese placed beneath it. The result is a melt that comes from below, pulling the cheese upward into the meat rather than draping over it from above. The visual difference is subtle, but the flavor integration feels more thorough because the cheese is sandwiched between the bread and the beef.
This method works particularly well with:
- Provolone: Its moderate fat content and mild flavor melt cleanly under steak heat without becoming greasy.
- American cheese: Melts fastest of all options and creates that creamy, almost sauce-like texture some people associate with classic cheesesteak shops.
- White American: A slightly sharper version that holds up well under the weight of the beef.
"Cheese placement is flexible as long as the melt integrates with steak and bread. The key goal is melt integration, not strict placement." Patti LaBelle's approach proves this point better than any recipe debate can.
The practical advantage here is control. You build the sandwich in a way that lets you see exactly how the cheese is melting before you close it up. No guessing whether the cheese has fully melted under a dome.
4. Blackstone flat-top griddle preparation
The Blackstone griddle has become one of the most popular tools for home cheesesteak cooking, and for good reason. Its large, flat cooking surface mimics the commercial flat-tops used in Philadelphia shops more closely than a standard skillet. Here is how to use it well:
- Preheat the griddle to high. Give it at least five minutes to reach full temperature before anything goes on it.
- Butter and toast the hoagie rolls. Place rolls cut-side down on a lightly buttered section of the griddle. Toast for one to two minutes until golden. This step creates a barrier that prevents the bread from absorbing too much juice and going soggy.
- Sauté onions and optional peppers. Move to a medium-heat zone and cook onions and bell peppers until softened and slightly charred at the edges.
- Sear the ribeye on high heat. Spread shaved ribeye across the hottest part of the griddle in a single layer. Let it sear, then chop and combine with the onions and peppers.
- Apply the cheese steam melt. Lay cheese slices over the beef and cover with a basting dome. Add a splash of water near the dome to create steam. Placing the roll face down over the cheesy meat traps heat for a fast, even melt without sogginess.
- Use the roll-scoop flip. Slide a spatula under the meat pile, place the open roll over it, and flip the whole thing so the beef lands inside the bread. This technique keeps the sandwich intact and ensures even distribution.
Pro Tip: Use heat zones strategically on a Blackstone. Keep onions warm on a low zone while you sear beef on high. This prevents overcooked onions while you manage the beef.
| Feature | Classic griddle method | Blackstone method |
|---|---|---|
| Equipment | Cast iron or skillet | Large flat-top griddle |
| Roll toasting | Optional | Standard step |
| Steam melt | Lid or roll-over technique | Basting dome with water |
| Heat control | Single zone | Multi-zone management |
| Best for | Small batches | Multiple sandwiches at once |
5. Two-stage cheese melt technique
This method focuses specifically on how cheesesteak texture differs by preparation, particularly around the cheese. The two-stage approach separates the beef cooking phase from the cheese melting phase completely. Cook the beef and onions fully first. Then add cheese and cover to melt without any additional heat source.
Cooking beef and onions fully first, then melting cheese on residual heat avoids the common mistake of applying cheese too early. Early cheese addition means the cheese sits on a still-cooking surface, overheats, breaks down, and turns oily rather than creamy. The two-stage method treats the melt as its own step, which it is.
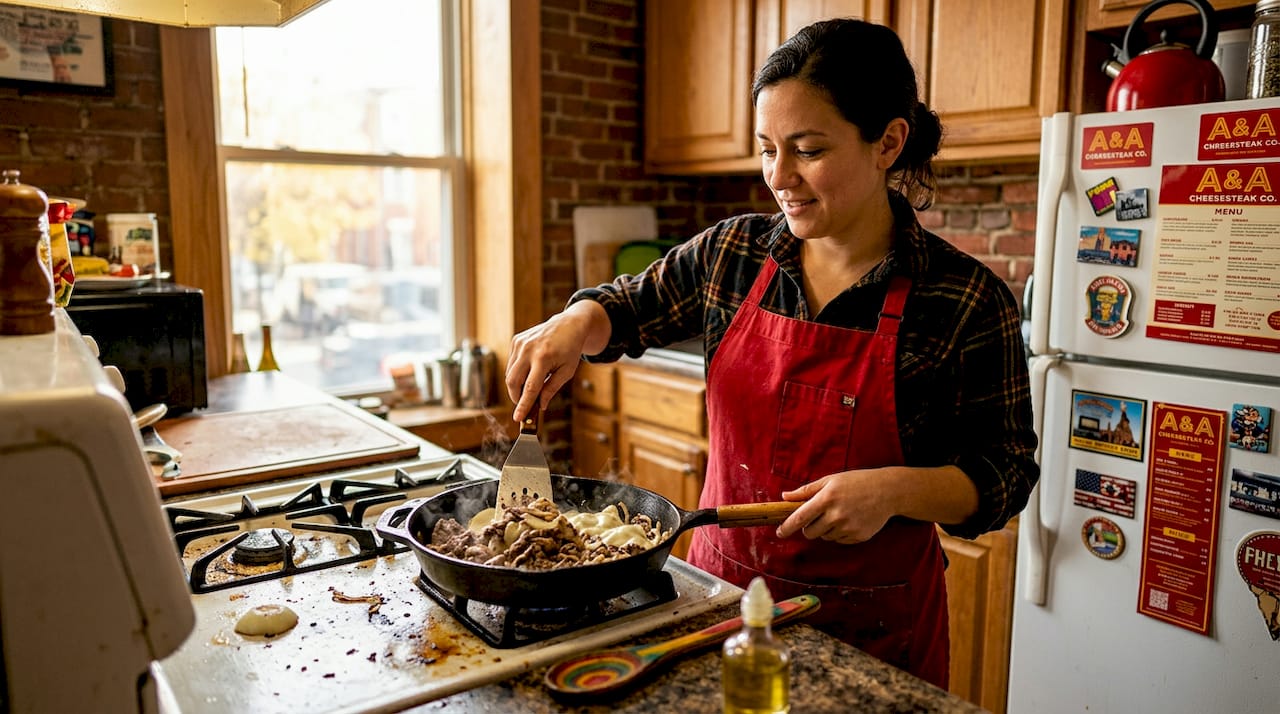
This technique is especially useful when you are working with a home stovetop rather than a commercial griddle, since stovetop heat is less even and harder to control. Removing the pan from the burner entirely before adding cheese gives you a consistent result every time.
6. Side-by-side comparison of preparation methods
Understanding traditional vs. modern cheesesteak preparation is easier when you see the methods next to each other. Here is a direct comparison to help you choose based on your kitchen setup and goals:
| Method | Slicing approach | Cheese technique | Best cheese | Ideal for |
|---|---|---|---|---|
| Freeze-slice | Par-freeze, thin knife slices | Any method | Provolone | Home cooks without a deli slicer |
| Classic Philadelphia griddle | Pre-sliced shaved ribeye | Residual heat, roll-over steam | Provolone | Purists replicating the Philly shop experience |
| Cheese-under-steak | Pre-sliced shaved ribeye | Steak heat from above | American, provolone | Those who prefer creamy melt integration |
| Blackstone flat-top | Pre-sliced shaved ribeye | Basting dome steam melt | Provolone, white American | Cooking multiple sandwiches at once |
| Two-stage melt | Any thin slice method | Off-heat covered melt | Any melting cheese | Stovetop cooks wanting consistent results |
The soft Italian hoagie roll is the one constant across all methods. Amoroso rolls are the Philadelphia standard. At home, any soft, sturdy Italian hoagie roll works. Avoid crusty baguettes and soft hot dog buns. Both fail for opposite reasons.
My honest take on what actually matters
I've watched a lot of home cooks approach the cheesesteak with the right ingredients and still produce something disappointing. The beef was overcooked. The cheese was rubbery. The bread was soggy. Every single time, the problem was process, not product.
The mistake I see most often is treating the beef like it needs time on the heat. It does not. Shaved ribeye is thin. It cooks in under two minutes. Every extra second on a hot surface moves it from tender to tough, and there is no coming back from that.
The second thing most recipes underemphasize is the roll. I've had cheesesteaks with perfect beef and cheese that were ruined by the wrong bread. A crusty roll fights the filling. A too-soft roll disintegrates. The bread should be a quiet partner, not a distraction.
On the cheese debate, I've talked to enough people who grew up eating cheesesteaks in Philadelphia to know that the placement argument is mostly noise. What matters is that the cheese melts fully into the meat and bread. Whether it goes on top or underneath, the goal is the same: one cohesive bite where you cannot separate the cheese from the beef. Authenticity is about achieving that result, not about following a rigid rule on cheese placement.
— Adam
Get the real ingredients for your next cheesesteak
If you are serious about replicating authentic Philadelphia cheesesteak preparation at home, the ingredients you start with set the ceiling for how good the result can be. Thinly sliced ribeye and the right roll are not interchangeable with grocery store substitutes.
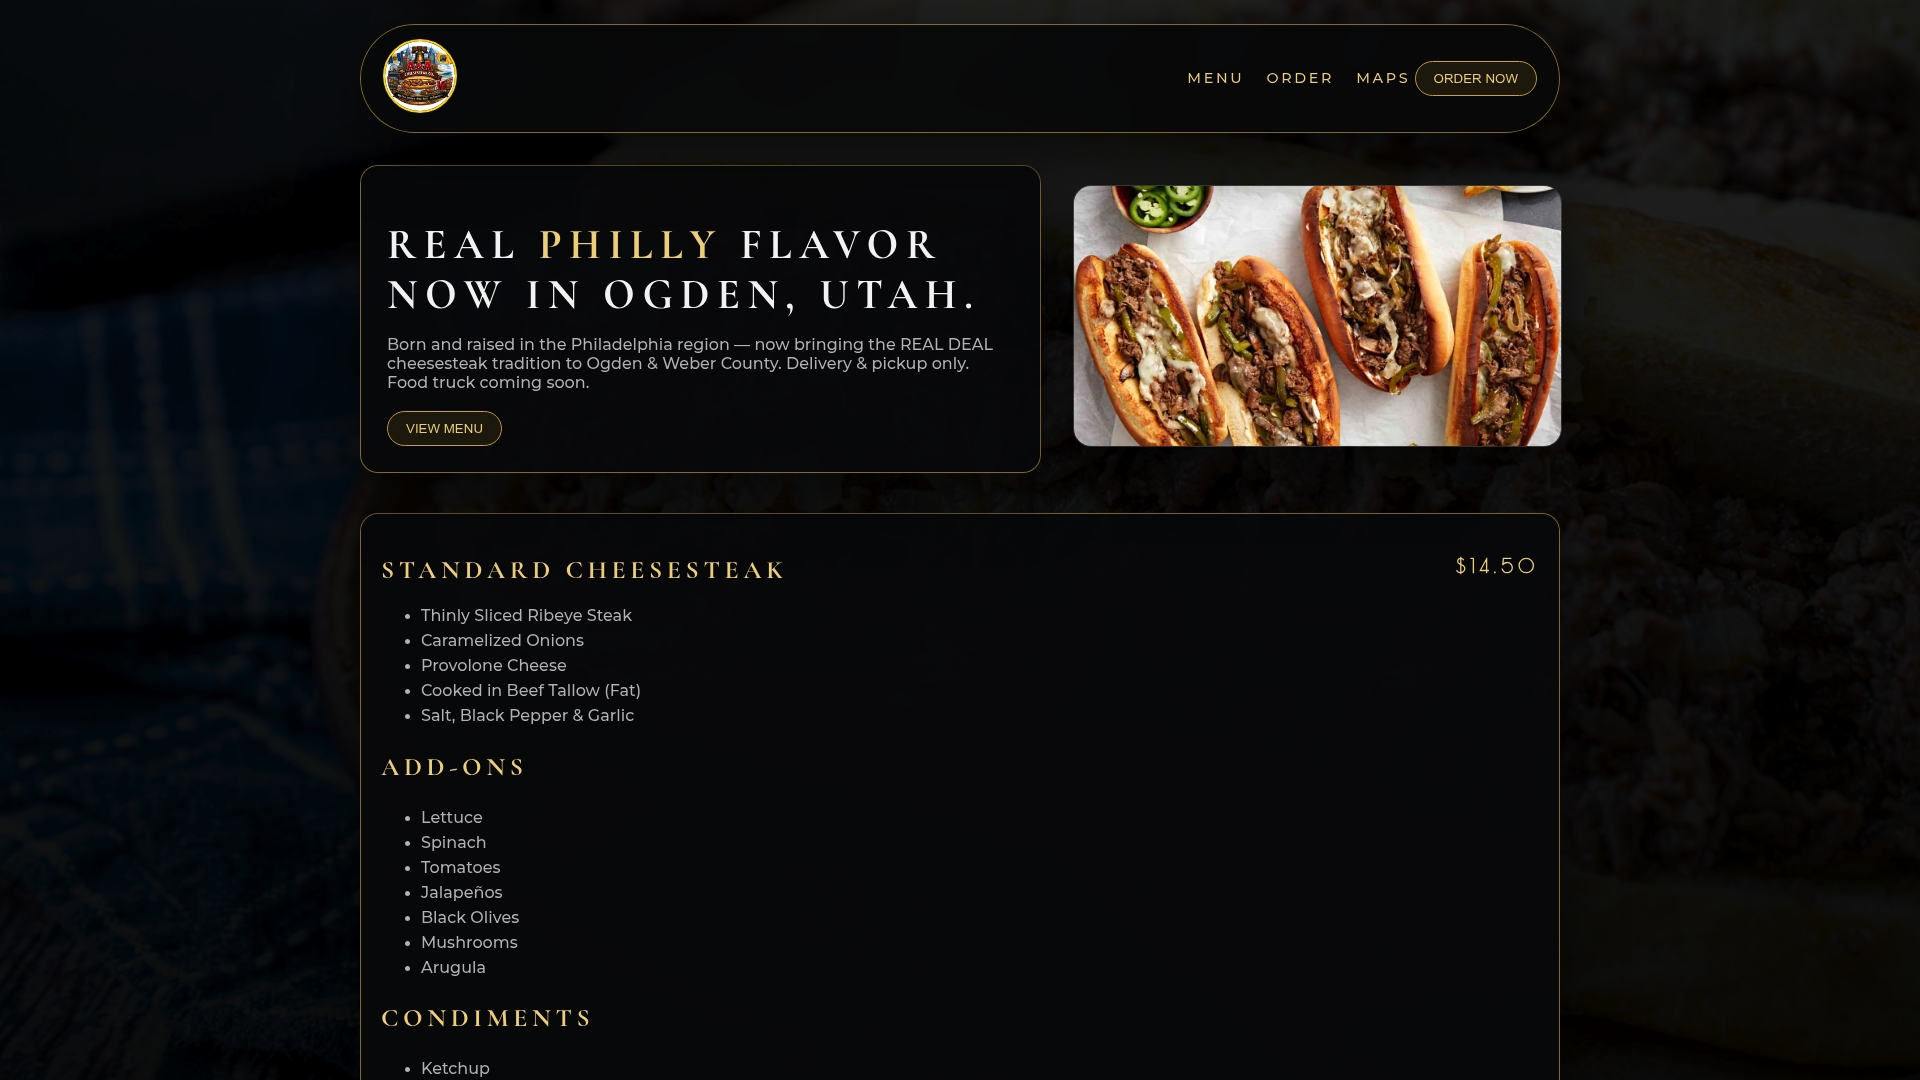
At Aacheesesteaks, every sandwich is built on the same principles covered in this article: thinly sliced ribeye, provolone, and proper cooking technique. If you want to taste what the methods above are supposed to produce before you try them at home, Aacheesesteaks in Ogden, Utah is the reference point. Delivery and pickup options are available, so you can order the real thing and use it as your benchmark.
FAQ
What cut of beef is used in an authentic cheesesteak?
Ribeye is the standard cut for an authentic Philly cheesesteak. It has enough fat marbling to stay tender and flavorful even when cooked at high heat for a short time.
How thin should cheesesteak beef be sliced?
The beef should be shaved or sliced as thin as possible, close to paper-thin. Freezing ribeye for 30 to 45 minutes before slicing makes this achievable without a commercial deli slicer.
What cheese is most authentic for a Philly cheesesteak?
Provolone and American cheese are both widely used in Philadelphia. Provolone offers a mild, slightly tangy flavor while American cheese melts into a creamier, smoother texture.
Why does my cheesesteak beef come out tough?
Overcooking is the most common cause. Thin beef cooks fast and only needs about one to two minutes of high heat. Crowding the pan also causes steaming instead of searing, which destroys the texture.
Can you melt cheesesteak cheese without a griddle dome?
Yes. Turn off the heat after cooking the beef, add cheese slices, and place the hoagie roll cut-side down over the meat pile. The trapped steam melts the cheese quickly and warms the bread at the same time.